Product & Architectural CGI Artist
A CGI artist isn’t just for movies and computer games. Businesses can benefit from CGI in a variety of ways. Product development and architectural planning are two prime examples of where a CGI artist can be very valuable. We can create images of things that don’t even exist yet! From 2D plans and measurements we can build 3D models and create renders to help your clients visualise the final outcome. 3d animations as well as multiple still images from various angles can add to a project’s visual appeal. We can achieve otherwise impossible camera angles and aren’t limited by the forces of gravity.
Product photography can at times involve complex set building and rigging to suspend objects safely. As a CGI artist I can reproduce the product faithfully in a 3d environment that allows us to place anything anywhere. Set building using this method avoids creating waste materials. It also enables us to keep the full setup and go back to it without having to start from scratch. So, not only is it very flexible it can also be more environmentally sound too.
To see more of my portfolio and to find out more about the CGI services I offer please take a look at the options below.
Is a CGI Artist Expensive?
Take a look at the image of the floating ice cream hearts. This is an advert for Booja-Booja ice cream that appeared on the back page of Vegan Food & Living magazine. The concept almost had to be abandoned as it was so difficult to make consistent heart shapes out of ice cream. However, I suggested that we do it as CGI instead. That turned out to be a much quicker job than photographing it ever could have been and it also gave a more polished look to the finished advert. In this instance, CGI was cheaper, quicker and easier than photography.
If you want multiple images of a product then CGI can quickly become faster than traditional photography. Once your CGI artist has modelled the item, it is then just a case of creating the scene and lighting it. Then you can put the camera anywhere and rapidly create a series of renders. If you want a very clean look (popular in the cosmetics industry, for example) then you can also save time and money on retouching as a CGI model won’t have the tiny defects of the real thing (unless you want them!).

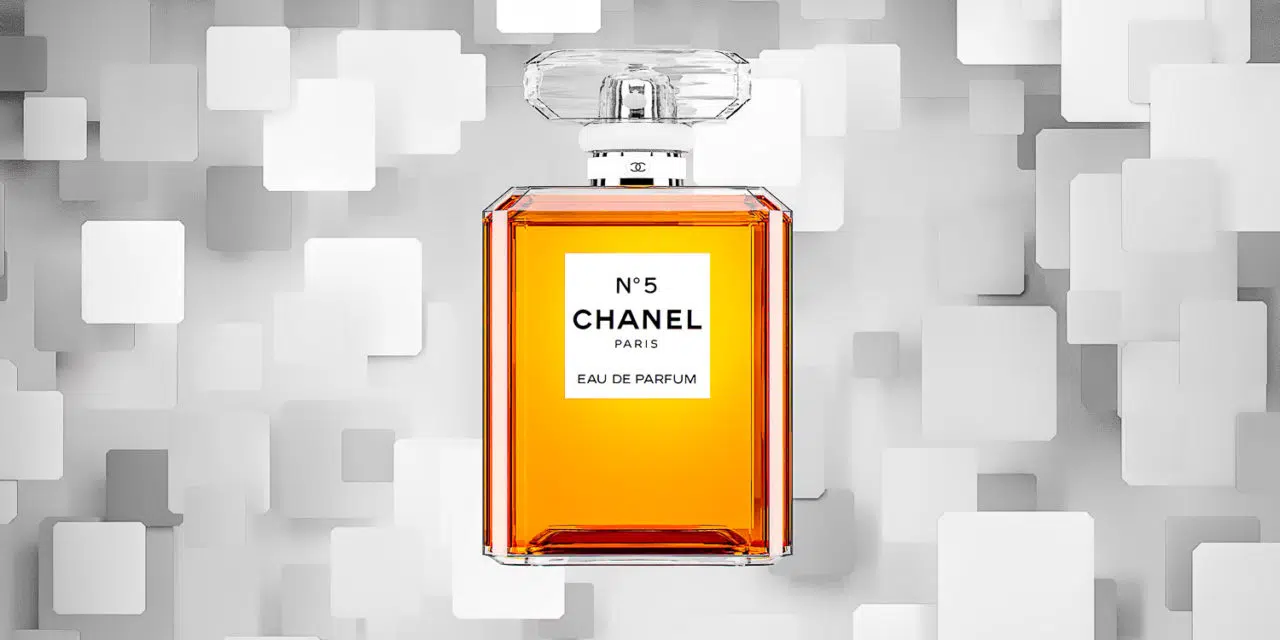
Some special effects can be cheaper to create using CGI. Images that would normally have to be created by shooting separate images and compositing together in Photoshop can often all be achieved in one go. There is no headache of matching the lighting either so it can look even more realistic. Imagine creating the image below using pieces of card, for example…
One-off images can be expensive if the product is complicated to model and texture. You can achieve savings more reliably when a model is able to be used numerous times. Using a CGI artist isn’t appropriate for everything. But for some jobs it is ideal – read more about the CGI photography revolution.
How Does a CGI Project Progress?
Defining the CGI Project
As with any type of image creation for advertising and marketing, the first step is for the CGI artist to understand what you want to achieve with the image(s). At this stage it is important for a CGI artist to see some reference images and/or drawings. This might be CAD renders, product photos or technical drawings of the product or architectural design. Once we have a clear idea of the styling and type of image required and a grasp of the level of complexity in the project, we can put together a quotation for you. The process is very similar to the one explained in my article on writing a photography brief.
CGI Modelling
Once the project starts, the first main stage is to set up all relevant reference images and data ready for modelling. Then, each object is modelled in the 3d environment. At this stage it has no colours or textures – see the image below for an example.
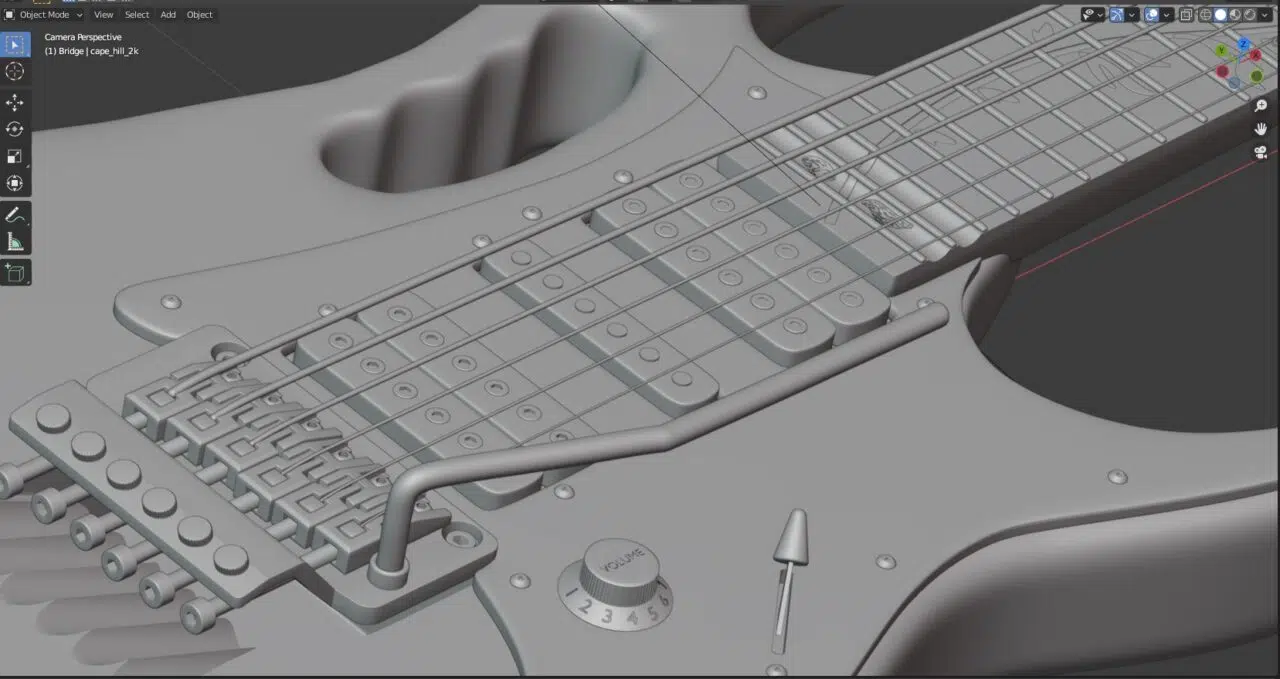
The modelling phase may take from a few hours to several days depending on how detailed and complicated the model needs to be. Once it is completed, we add materials and textures to it.
CGI Materials & Texturing
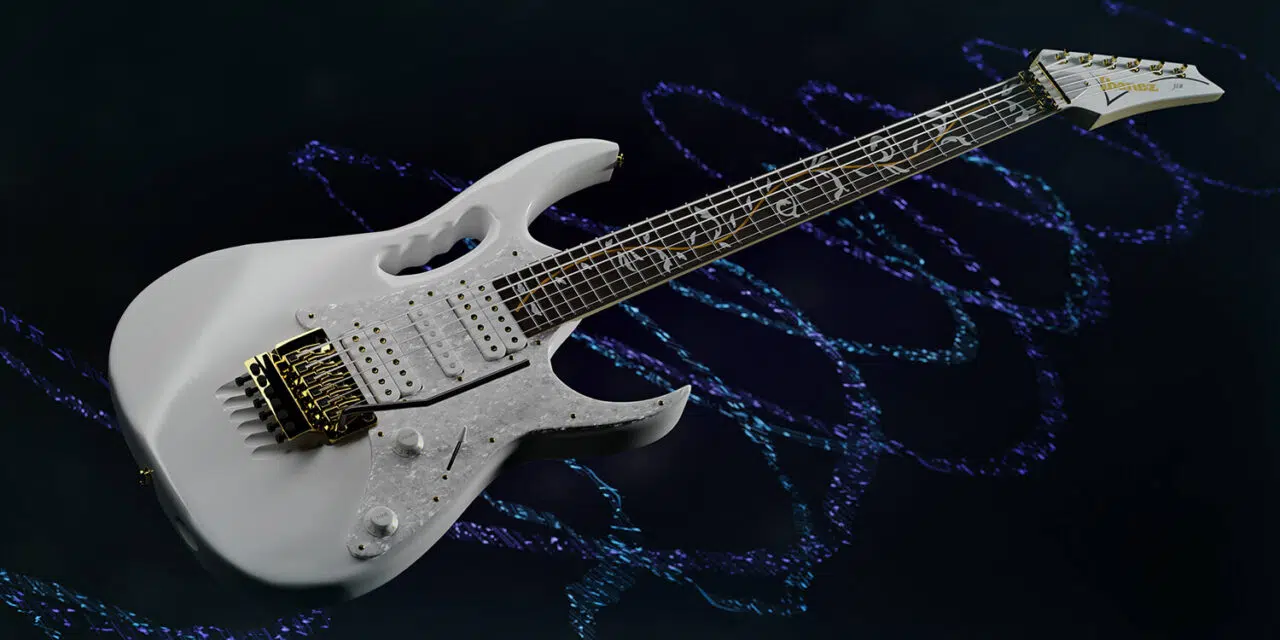
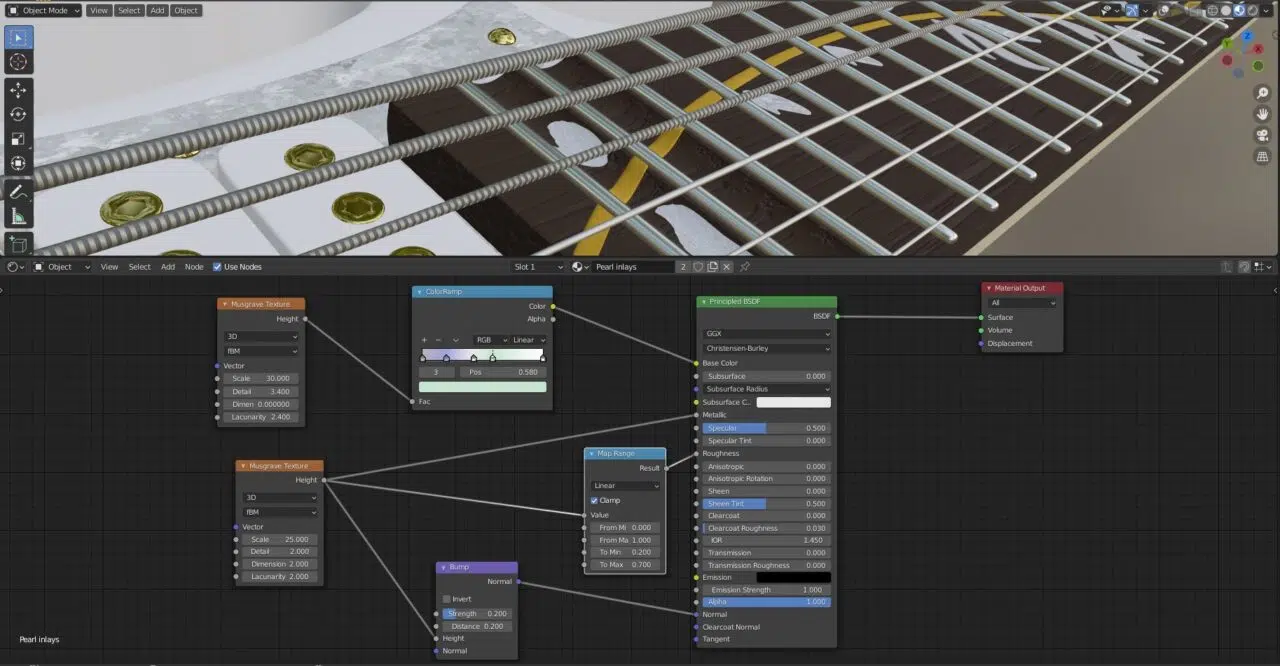
We normally add the materials using the node system to create customised textures and materials that are as close to the intended final object(s) as possible. Here is an example showing the nodes for the pearl inlays in the guitar fretboard. They control the colour, how reflective the material is, the surface texture and extra levels of detail.
Setting Up the Scene
We then build the set for the product. This includes adding a background, other objects, lighting and setting up a camera:
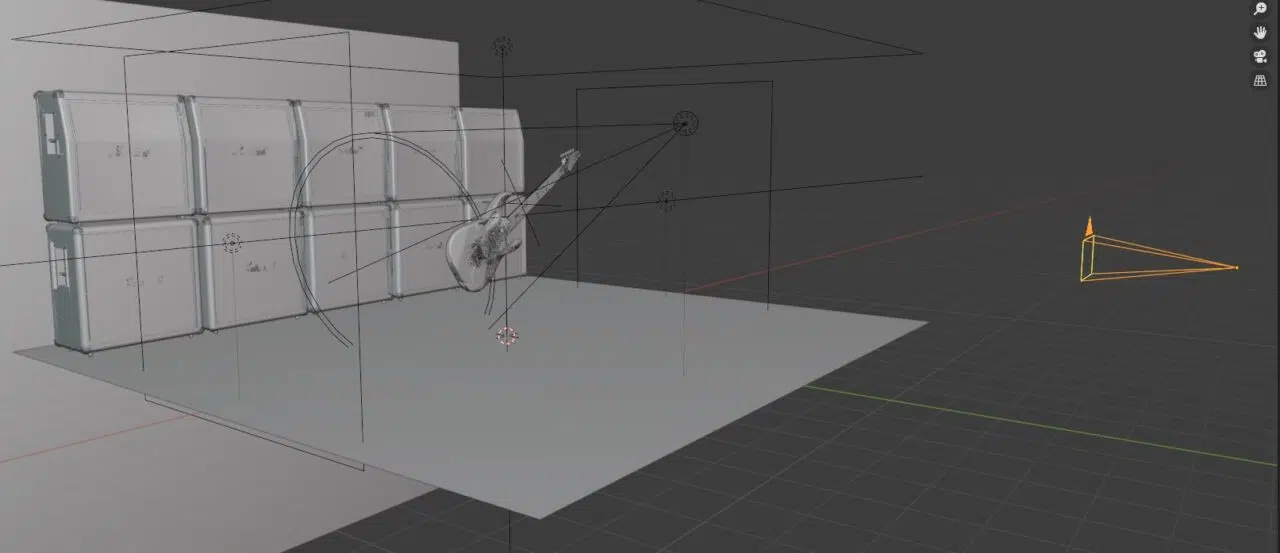
The camera and lighting in CGI is very similar to real world lighting and a real camera. We have to choose the composition and lighting carefully for the best effect. The camera must have the right focal length and depth of field set up just as with a DSLR.
Rendering Your CGI Scene
Only once all of the elements are in place are we ready to create renders. At this point I set up the render engine to give the most photorealistic results by controlling the balance of the various ray types used. I also set the size of the finished file. Higher resolution photorealistic images take longer to render but are worth it for the results you can get.
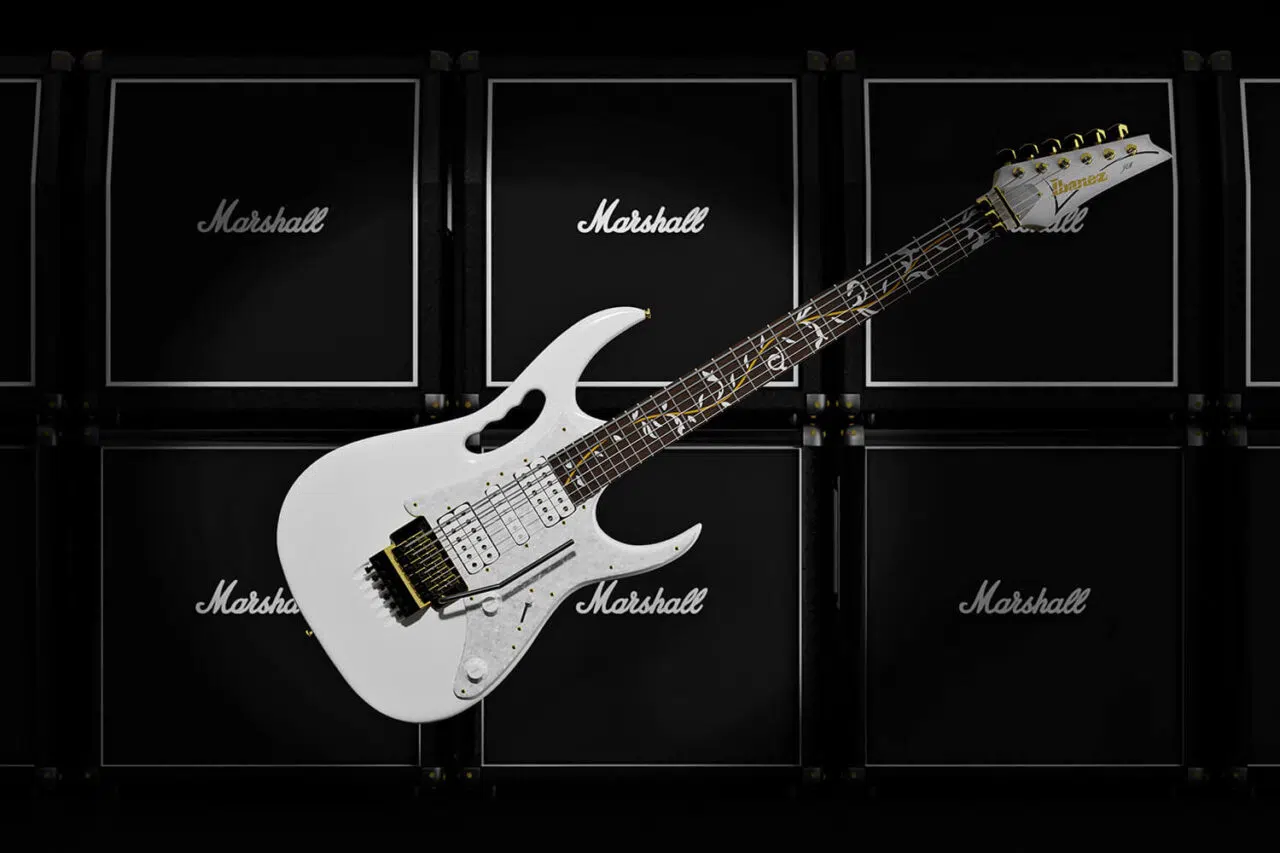
I rendered this sample image from the scene above. I have also added extra contrast in Photoshop. Post-production is an important step to ensure the best quality images. Renders normally need a little tweaking to bring out the best in them. The final image is then ready to go! As you can see, there are many steps that I go through as a CGI artist to create images. Each step requires specialist skills and sufficient time to create believable final renders.
